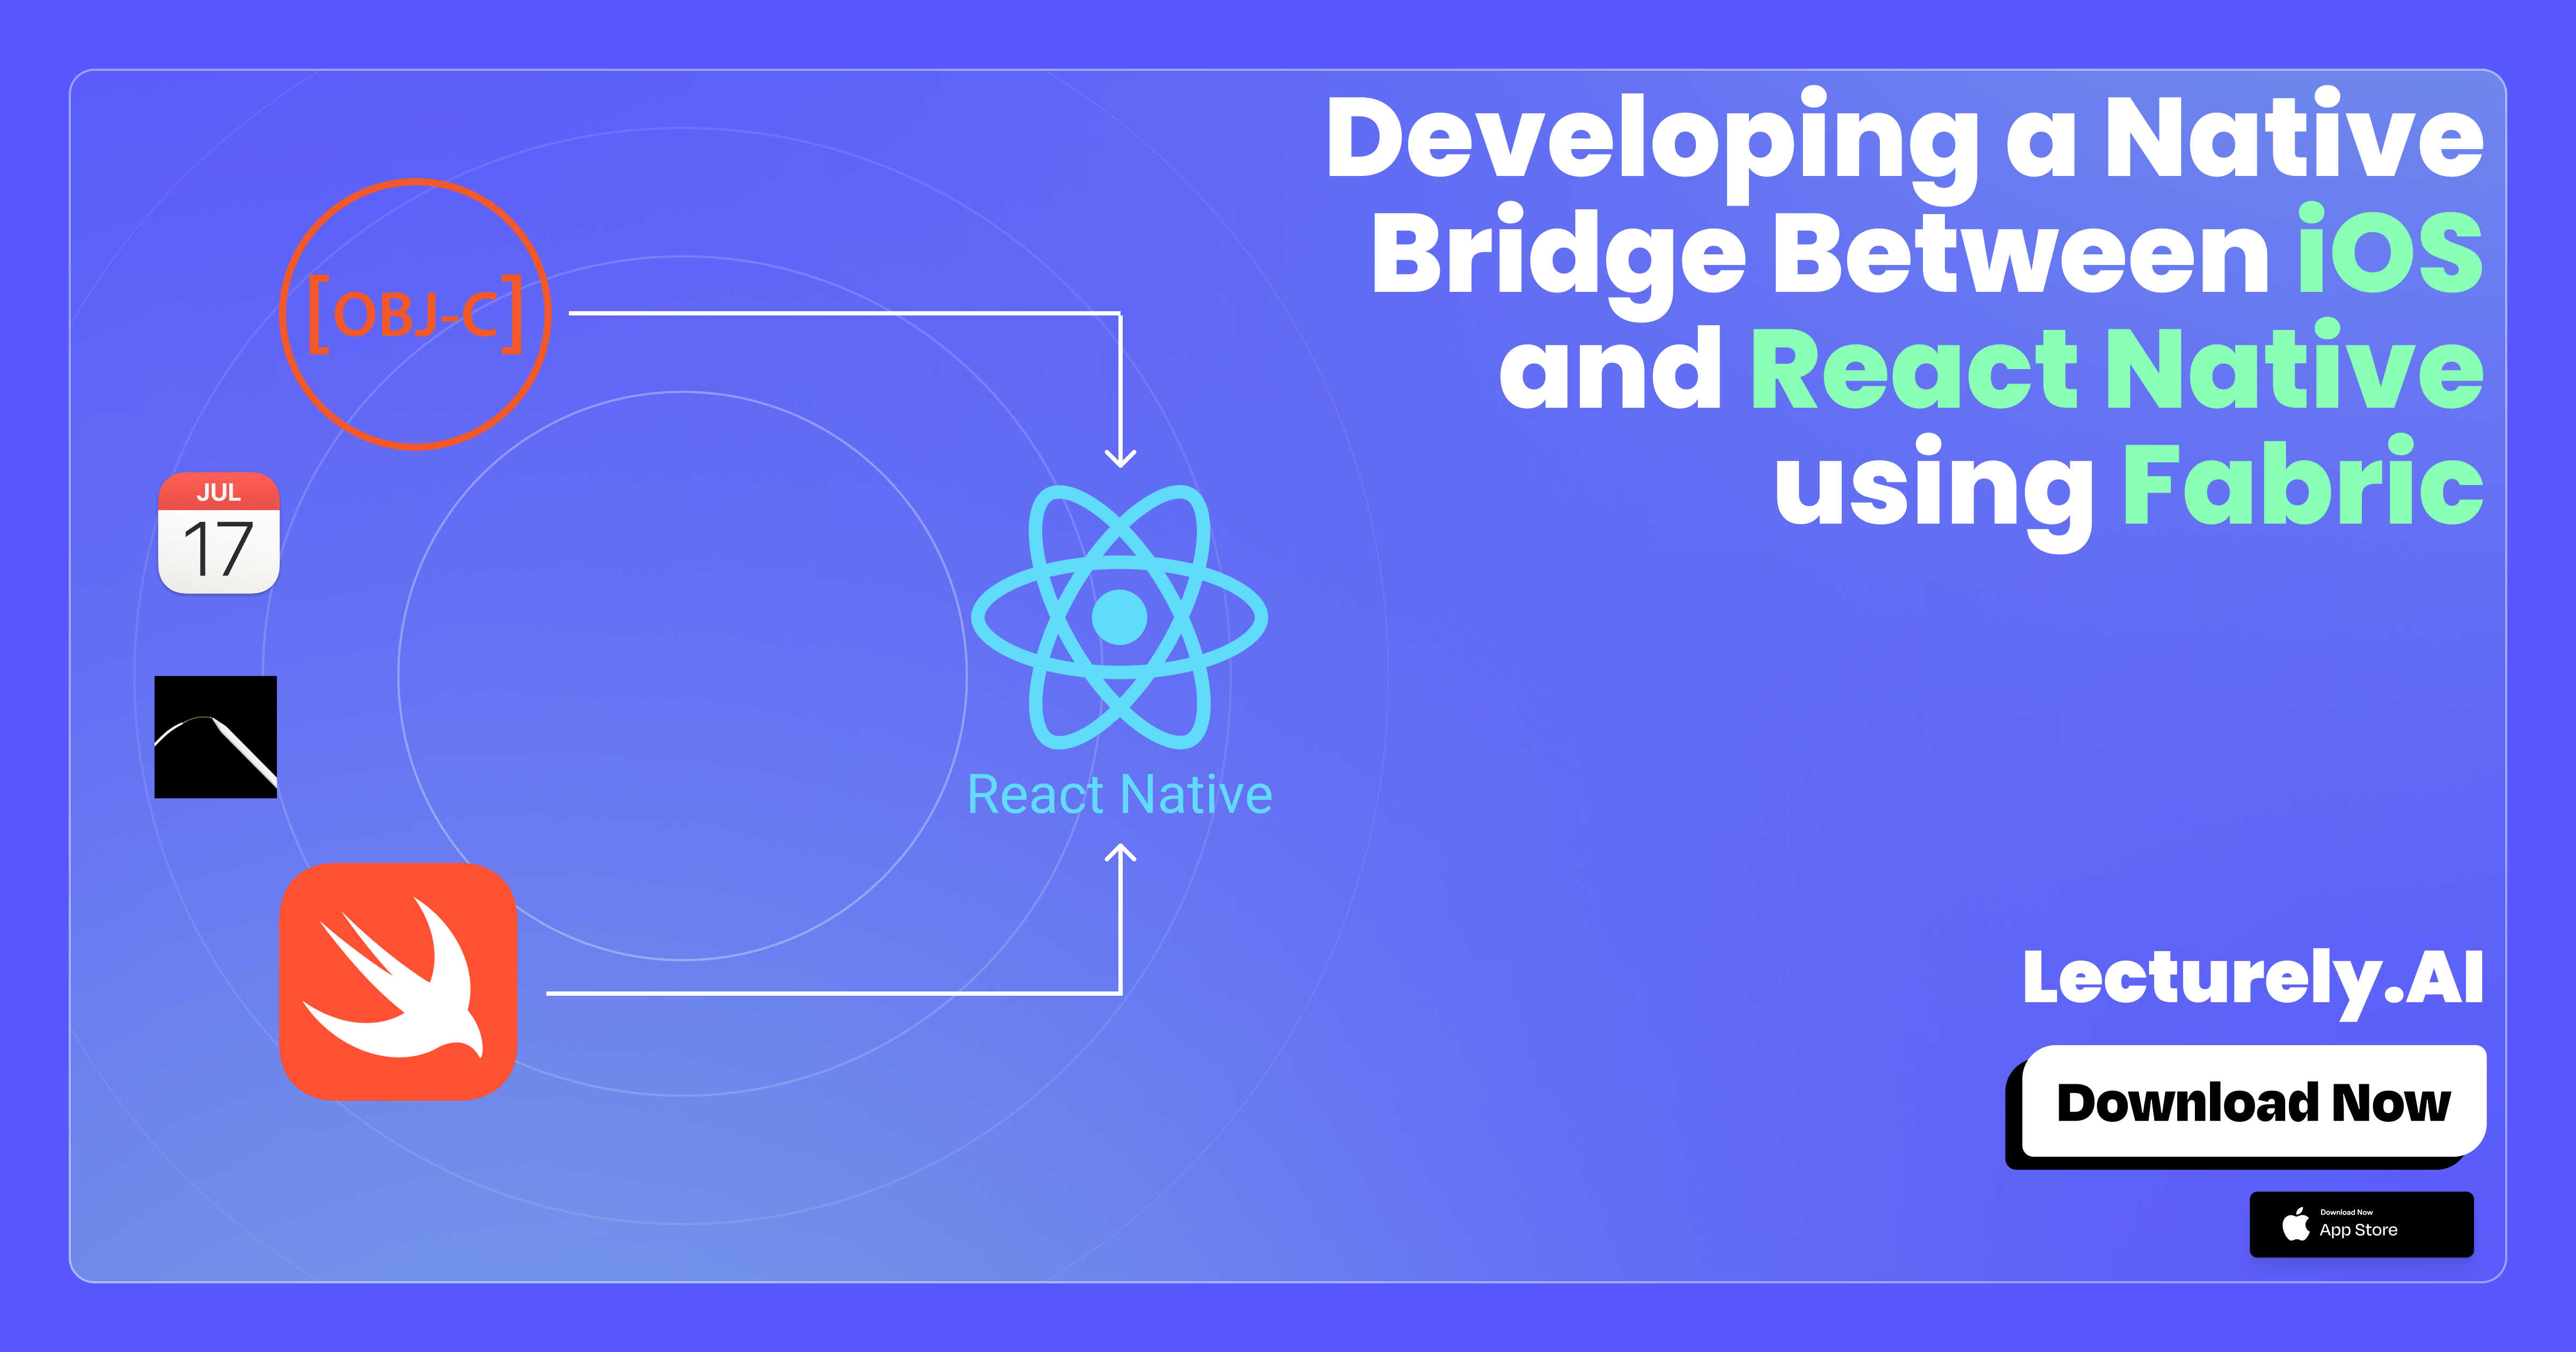
Developing a Native Bridge Between IOS and React Native Using Fabric


Developing custom native modules for React Native can be both exciting and challenging. With the advent of React Native’s new architecture—Fabric and CodeGen—the way we create bridges has evolved. In this post, we’ll show you how to create a native bridge in Objective-C for integrating Apple’s PencilKit into your React Native app. We’ll include code snippets, discuss key steps, and show how you can leverage Fabric and CodeGen to streamline your integrations.
By the end of this article, you’ll have a robust framework for bringing native iOS functionalities—like PencilKit—into your React Native codebase.
Why PencilKit?
PencilKit allows you to create fluid and natural drawing experiences for Apple Pencil and touch
inputs. It provides a PKCanvasView that can capture, render, and manipulate drawings. This is
particularly useful for applications that require annotations, collaborative whiteboarding, or
note-taking capabilities—exactly the kind of functionality you might need in an AI-driven study app
like Lecturely.
Overview of the New Architecture: Fabric & CodeGen
- Fabric: A new rendering system that improves performance and concurrency. Instead of using the older “legacy” renderer, you can opt into Fabric to gain benefits like better concurrency and thread-safety.
- CodeGen: A tool that automatically generates native code from TypeScript/Flow type definitions. This reduces manual bridging code and ensures type safety between JavaScript and native code.
Setting Up Your React Native Project
-
Enable New Architecture
-
React Native CLI tool (v0.70+) ships with flags to enable the new architecture.
-
In your
ios/Podfile, you can enable Fabric and CodeGen by ensuring the following lines are present:ruby Copy use_react_native!( :path => config["reactNativePath"], :production => false, :hermes_enabled => false, :fabric_enabled => true ) -
Run
pod installin theiosdirectory.
-
-
Create a Type Definition for PencilKit
-
Create a file like
NativePencilKitSpec.js(or.ts) inside aNativeModulesfolder in your React Native project. This file will be consumed by CodeGen to generate native scaffolding. -
A basic spec file might look like this:
js
Copy
// NativePencilKitSpec.js
// @flow or // @ts-check

import type {TurboModule} from 'react-native/Libraries/TurboModule/RCTExport';

export interface Spec extends TurboModule {
  // Define your methods here (sync/async)
  startDrawingSession(): void;
  clearCanvas(): void;
  saveDrawing(): Promise<string>;
  // ... add more if needed
}

export default (null: Spec);
-
-
Configure CodeGen
-
Modify your
package.jsonor Babel config so that CodeGen knows where your spec files are located. -
In
package.json, you might add something like:json Copy { "reactNativeCodegenConfig": { "libraries": [ { "name": "NativePencilKit", "type": "modules", "jsSrcsDir": "./src/NativeModules" } ] } } -
The actual configuration can vary depending on your project structure, but the essence is that CodeGen will read your specs and generate native code.
-
Creating the Objective-C Bridge
-
Native Module Files
After running the CodeGen process (usually triggered automatically during builds, or you may run
yarn react-native codegen), you’ll find generated files that you can reference or extend in Objective-C. However, if you prefer a manual approach to bridging (or want to integrate with custom logic), create an Objective-C module that implements the interface. -
Header File (
NativePencilKit.h)objc Copy #import <React/RCTBridgeModule.h>#import <React/RCTViewManager.h>#import <PencilKit/PencilKit.h>@interface NativePencilKit : NSObject <RCTBridgeModule> @end -
Implementation File (
NativePencilKit.m)objc Copy #import "NativePencilKit.h"#import <React/RCTLog.h>@implementation NativePencilKit// Name of the module that JS will use RCT_EXPORT_MODULE(); // Example of an exported method to start a drawing session RCT_EXPORT_METHOD(startDrawingSession) { RCTLogInfo(@"[NativePencilKit] Starting Drawing Session"); // Initialize or present any native PencilKit UI here if needed } // Clear the Canvas RCT_EXPORT_METHOD(clearCanvas) { RCTLogInfo(@"[NativePencilKit] Clearing Canvas"); // Clear your PKCanvasView } // Example method returning a promise RCT_REMAP_METHOD(saveDrawing, resolver:(RCTPromiseResolveBlock)resolve rejecter:(RCTPromiseRejectBlock)reject) { RCTLogInfo(@"[NativePencilKit] Saving Drawing"); // Perform your saving logic // Suppose we return a file path or base64 representation NSString *filePath = @"file://some/path/to/saved_drawing.png"; resolve(filePath); } @end -
View Manager for PencilKit (
PencilKitViewManager.m)If you’re rendering a PencilKit canvas directly in React Native, you’ll need a custom view manager. This way, you can display and interact with the native
PKCanvasViewfrom JavaScript.objc Copy #import <React/RCTViewManager.h>#import <PencilKit/PencilKit.h>@interface PencilKitView : PKCanvasView@end @implementation PencilKitView@end @interface PencilKitViewManager : RCTViewManager@end @implementation PencilKitViewManager RCT_EXPORT_MODULE(PencilKitView); - (UIView *)view { PencilKitView *canvas = [PencilKitView new]; // Configure PKCanvasView as needed return canvas; } // Export props if needed // E.g. RCT_EXPORT_VIEW_PROPERTY(onStrokeStart, RCTBubblingEventBlock) @endThen in your JavaScript/TypeScript code, you can register this view for use in your React Native components.
js
Copy
import {requireNativeComponent} from 'react-native';

const PencilKitView = requireNativeComponent('PencilKitView');

export default PencilKitView;
Integrating PencilKit into Your React Native App
Once you have the native module and view manager set up:
-
Use the Native Module
js Copy import {NativeModules} from 'react-native'; const {NativePencilKit} = NativeModules; // Start a drawing session NativePencilKit.startDrawingSession(); // Clear the canvas NativePencilKit.clearCanvas(); // Save the drawing const handleSave = async () => { try { const filePath = await NativePencilKit.saveDrawing(); console.log('Drawing saved at:', filePath); } catch (e) { console.error('Error saving drawing:', e); } }; -
Render the PencilKit View
jsx;
Copy;
import React from 'react';
import { View, StyleSheet } from 'react-native';
import PencilKitView from './path/to/PencilKitView';

export default function DrawingScreen() {
  return (
    <View style={styles.container}>
      <PencilKitView style={styles.canvas} />
    </View>
  );
}

const styles = StyleSheet.create({
  container: {
    flex: 1,
    backgroundColor: '#fff',
  },
  canvas: {
    flex: 1,
    borderWidth: 1,
    borderColor: '#ccc',
  },
});
Now you have a native PencilKit surface and module methods accessible in your React Native JavaScript code—using the new architecture’s patterns for bridging and rendering.
Our Engineering Team at Lecturely made several such modules to curate a better user experience. If you are using a canvas for system design, or collaborating with friends on a college project, use Lecturely to do so. Lecturely has tons of other features:
✅ Record and transcribe lectures effortlessly
✅ Chat with your notes and PDFs for quick understanding
✅ Generate AI-powered quizzes for exam preparation
✅ Create smart flashcards in one click
✅ Collaborate with friends in real time
Let’s dive into how you can get started today! 🎓
With the power of React Native and native modules like PencilKit, Lecturely is able to provide a highly interactive, real-time collaborative note-taking environment. We hope this guide helps you build or integrate your own PencilKit-based features in a React Native app—just as we’ve done for our users in Lecturely.


